I usually decorate the house for Halloween/fall in mid-September, but I just couldn’t bring myself to pull down the attic stairs in our garage. A quick Google search informed me that an attic’s temperature can range from 150-160 on a 95-97 degree day. Considering it’s been that hot here, it felt entirely too early to be displaying pumpkins.
However, I bit the bullet and did it anyway weekend before last. And then I put the empty totes in the attic a couple afternoons later, when it was 95 degrees.
I usually combine our fall and Halloween decorations, putting out both together and making adjustments here and there. We have a mixture of playful and sophisticated, neutrals and color, texture and glitz. It’s kind of a capsule of my typical style – a mix of everything. I mainly stuck to the same thing I did last fall (see that post and my advice here).
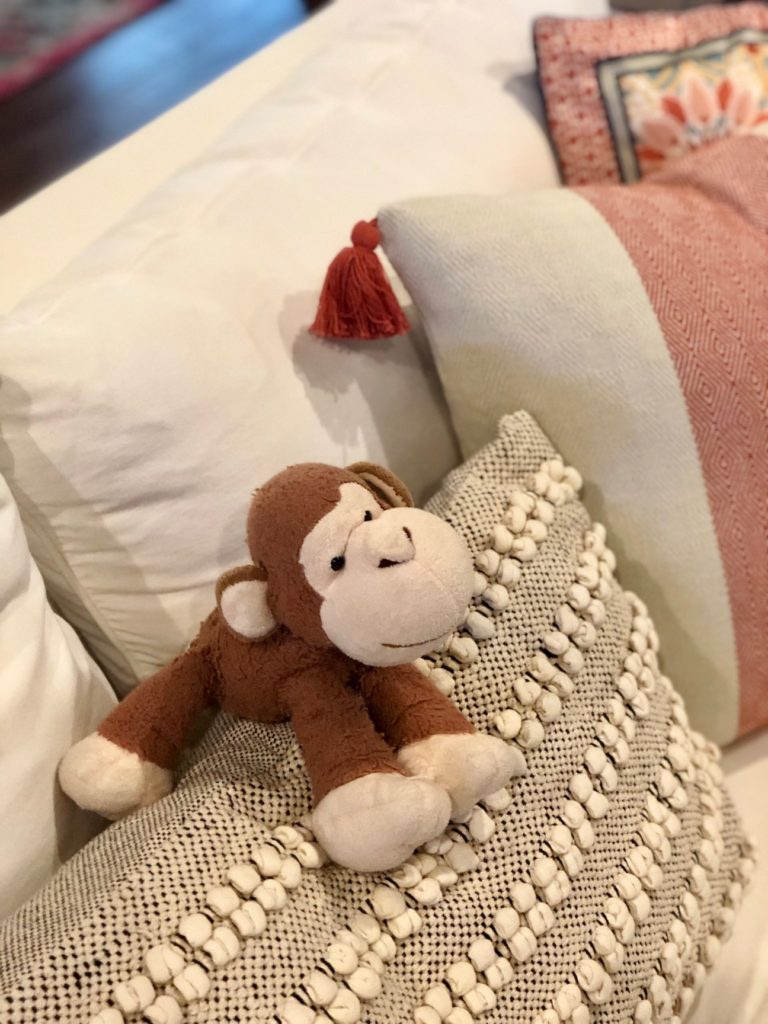
While Joe and I were in Tallahassee on a day date last Friday (Trader Joe’s anyone?!), I bought a couple new throw pillows at the TJ Maxx next door for our living room sofa, one square and one lumbar. Surprisingly, I haven’t bought pillows in a while! These were a good price and the quality is great.
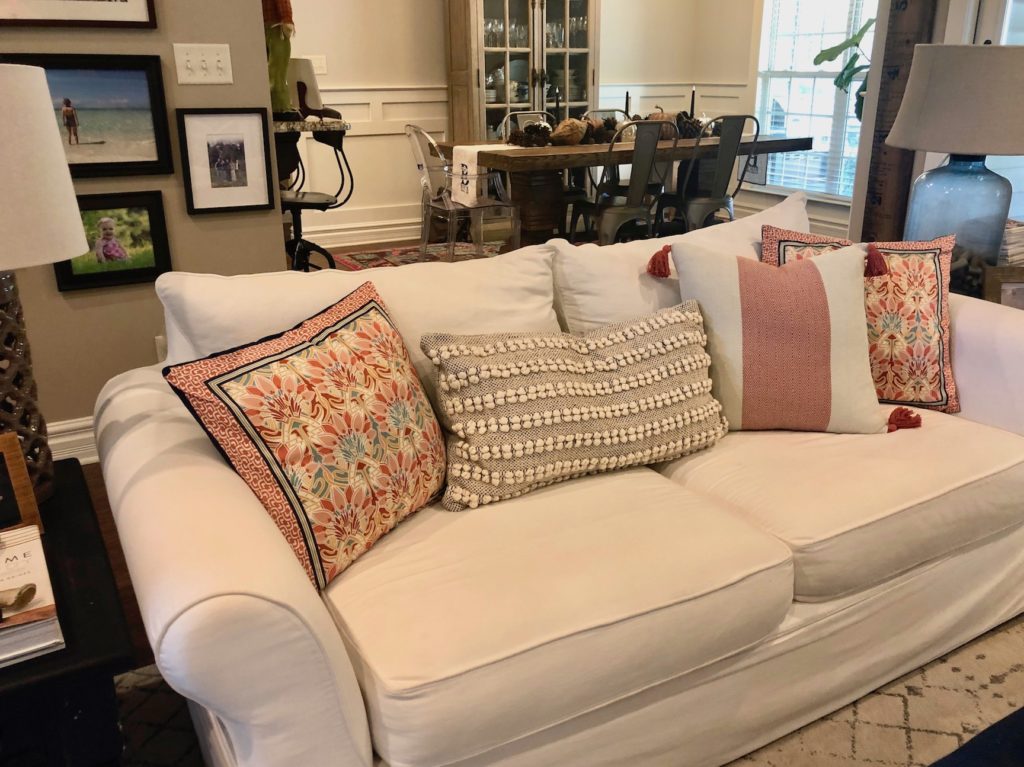
Since we have both natural fall elements and colorful ones, I wanted an overall more neutral and textural look on the sofa. I switched the existing pair of large, patterned, square pillows that were on the sofa with the smaller ones on our bed, since the those complement the fall decor better. I love the mix and how it all works with what we already had going on.
In the corner of the room, on our old nursery rocker, there is another pillow I bought (from Walmart!) a while back. I loved how it consisted of my favorite colors and, when moving pillows around and trying to decide what to take away, Hannah and I realized that it matches with our velvet colored pumpkins we place along the credenza perfectly!
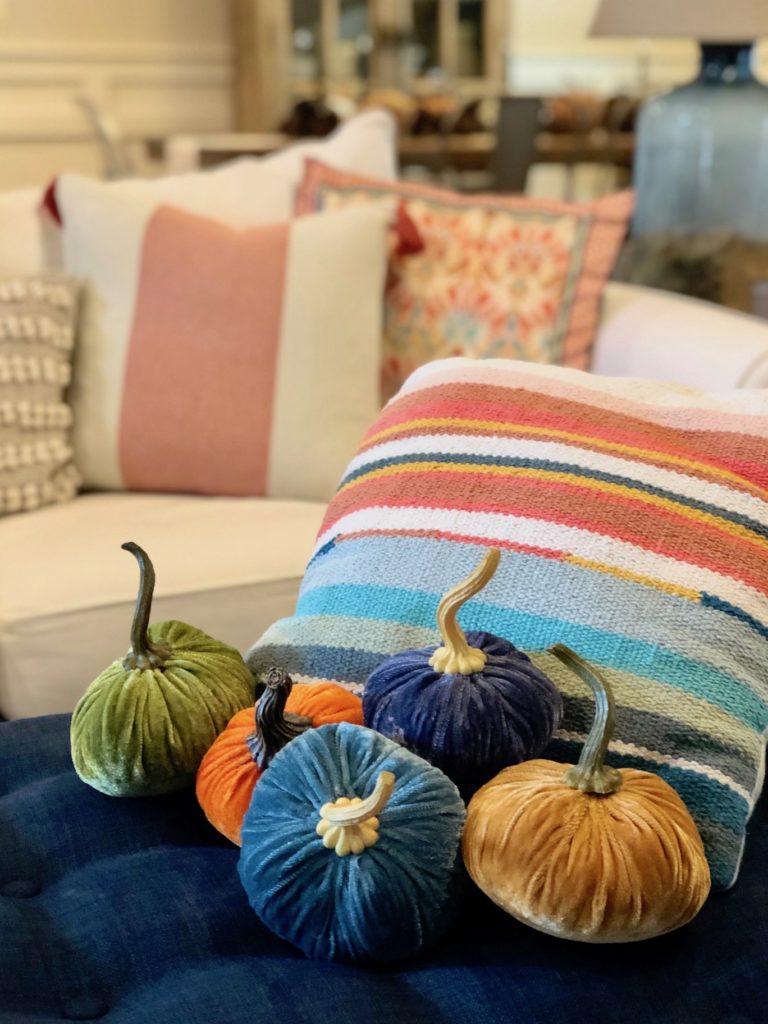
It also goes really well with the new pillows. As usual, when you buy what you love, I find things just tend to go together.
And about that table in the background…
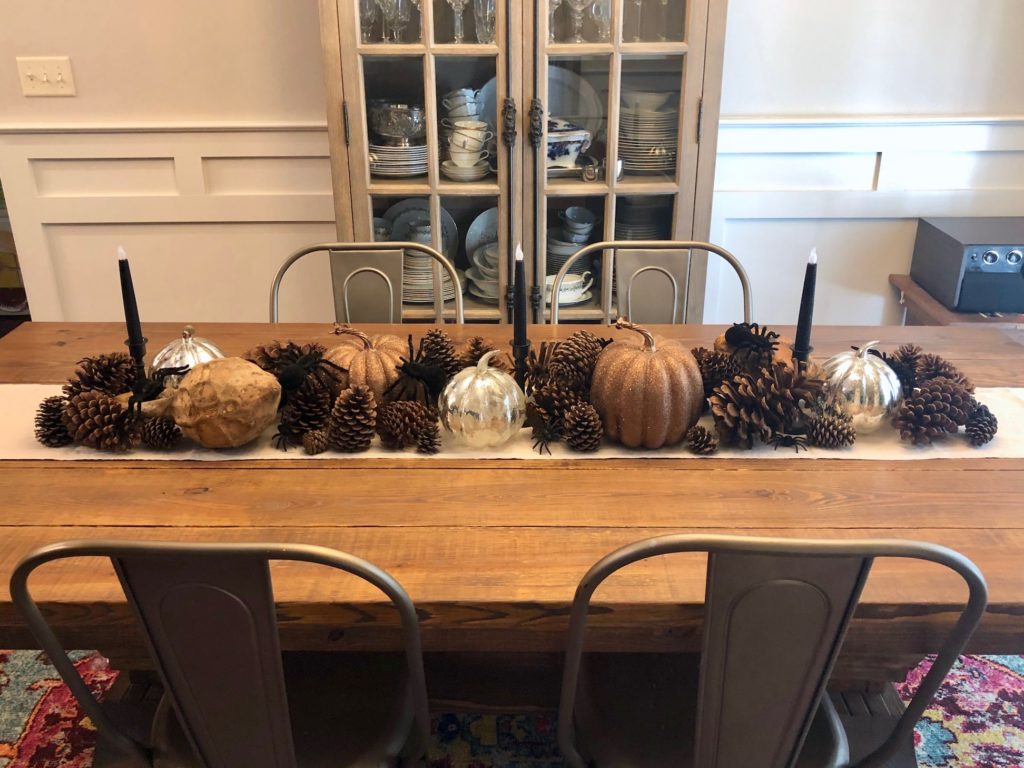
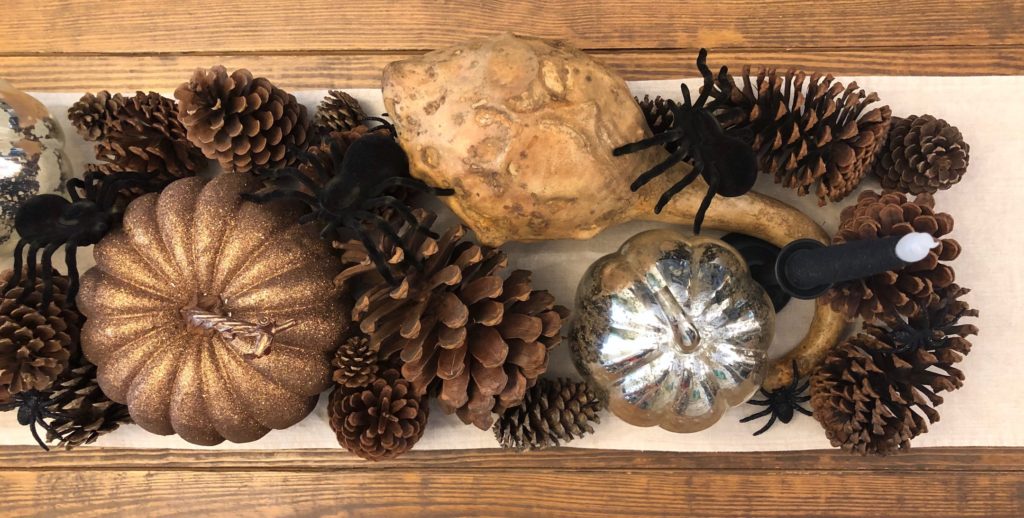
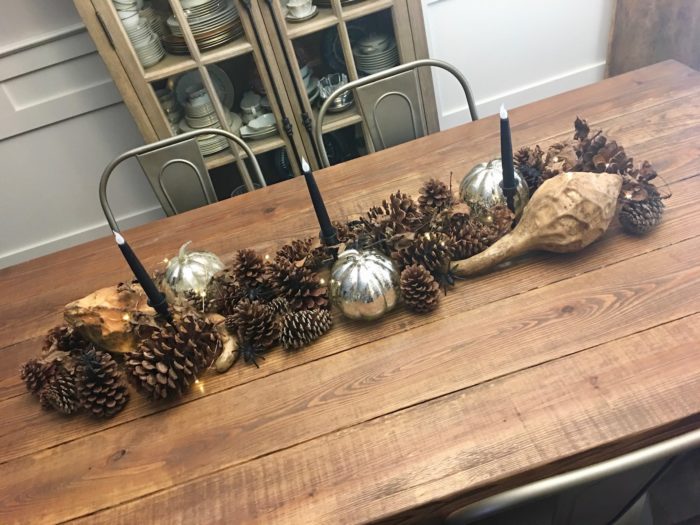
Per the kids’ request, I did our table mostly the same as last year, with pumpkins, pinecones, and spiders, with just a couple of changes.
I will say it looks festive!
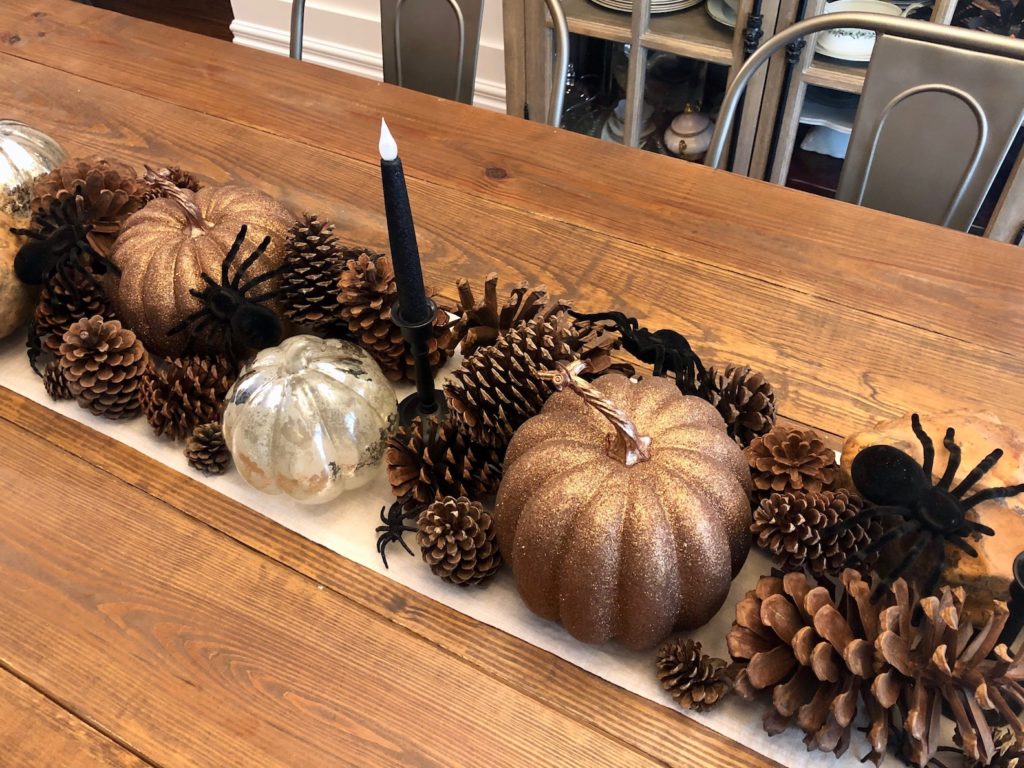
It’s easy to want to buy new things each year, but when the budget doesn’t allow for that, you just have to get a little creative. Small changes keep the decor from feeling old, yet extend the life of the things you have.
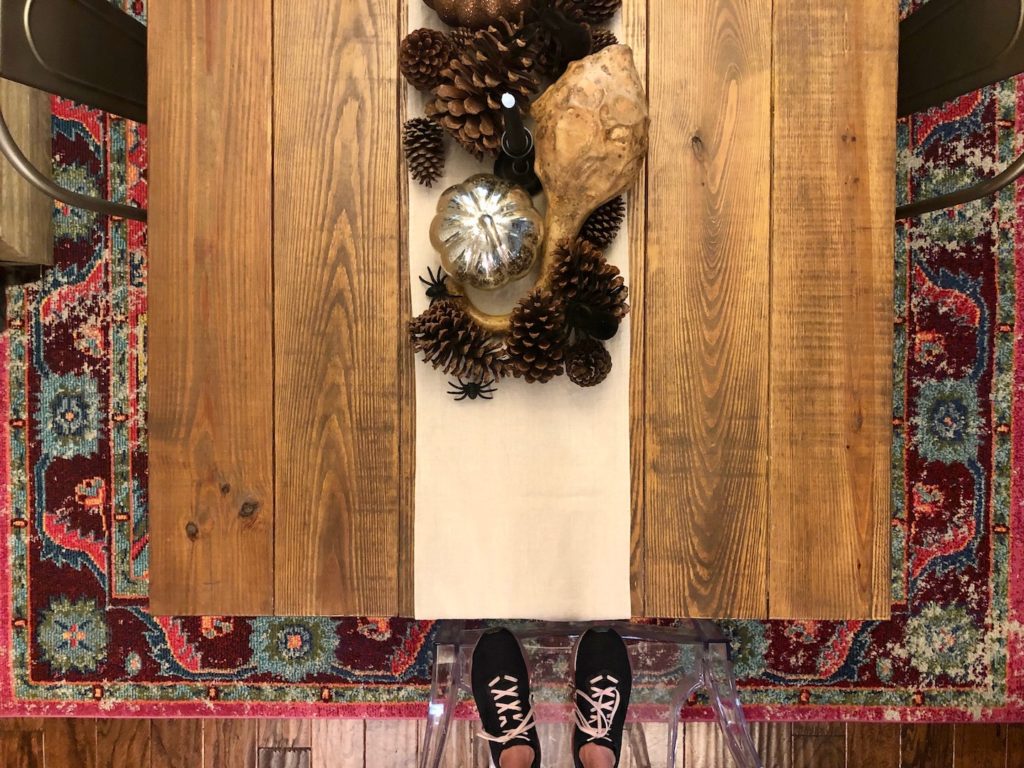
I tried not to fall forward when taking this picture, but wanted to show you how, even though the decorations are all neutral, the rug underneath keeps the colorful theme we have going through the house. So it’s a spooky tablescape on a happy rug.
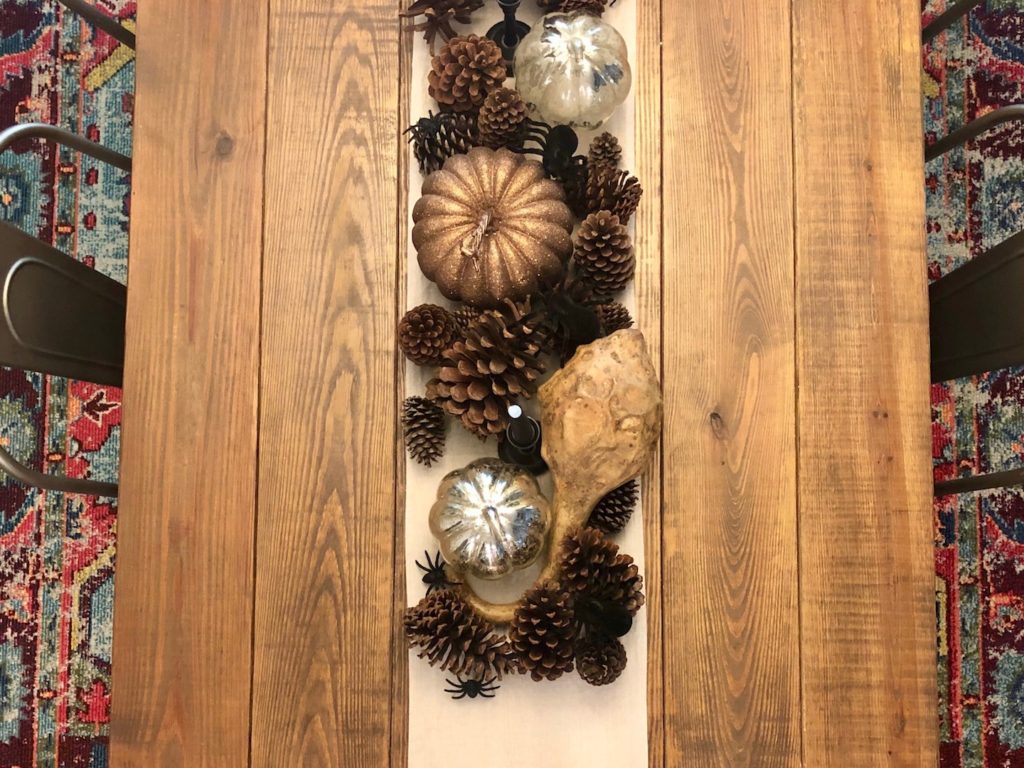
The whole point of easy table decor is to use what you have in a creative way, and for it to be relatively easy…
Last year I used the tiny copper string lights and “spooky” (dead) branches Hannah and collected roadside. Both created too much of a pain when lifting the candles to turn the lights on. Pinecones would fall, and bits of dirt would come off the sticks. I got to the point where I wouldn’t let Joseph turn them on every meal. (Advice below on that.)
So, a couple modifications and now we have something that is fun and not frustrating!
Here are the steps and some sketches I did for you…
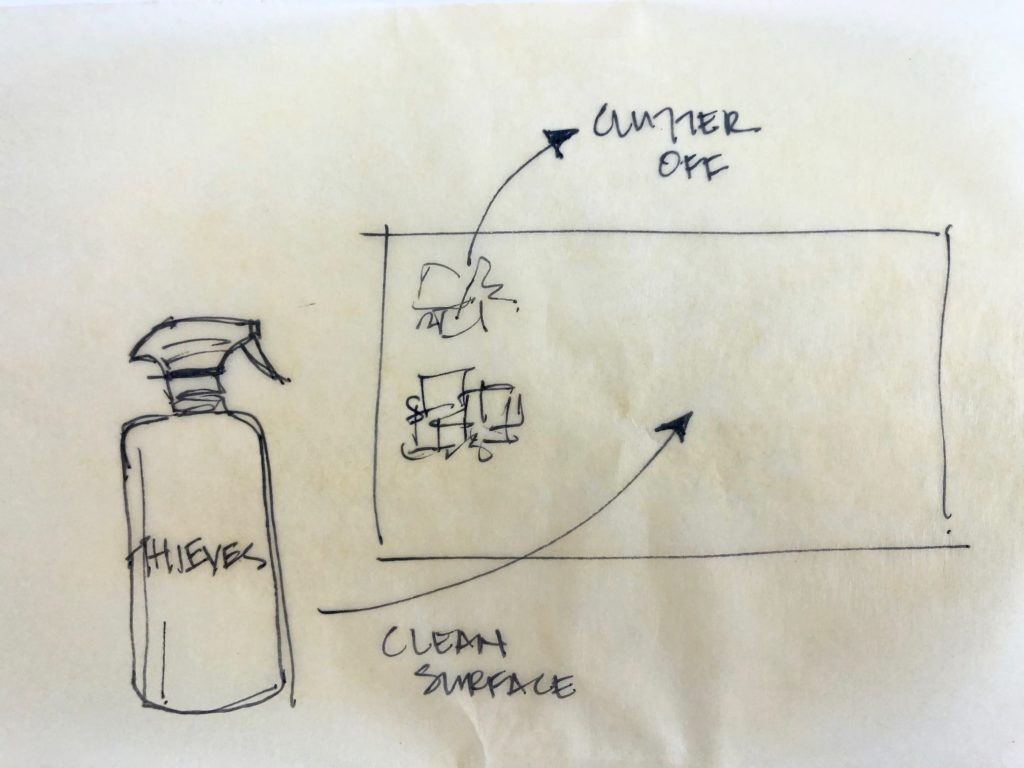
CLEAR AND CLEAN – I say that jokingly because I had to get rid of the clutter (why do stacks always form on the table, despite our best efforts??) and wipe mine down with my Thieves spray before I started.
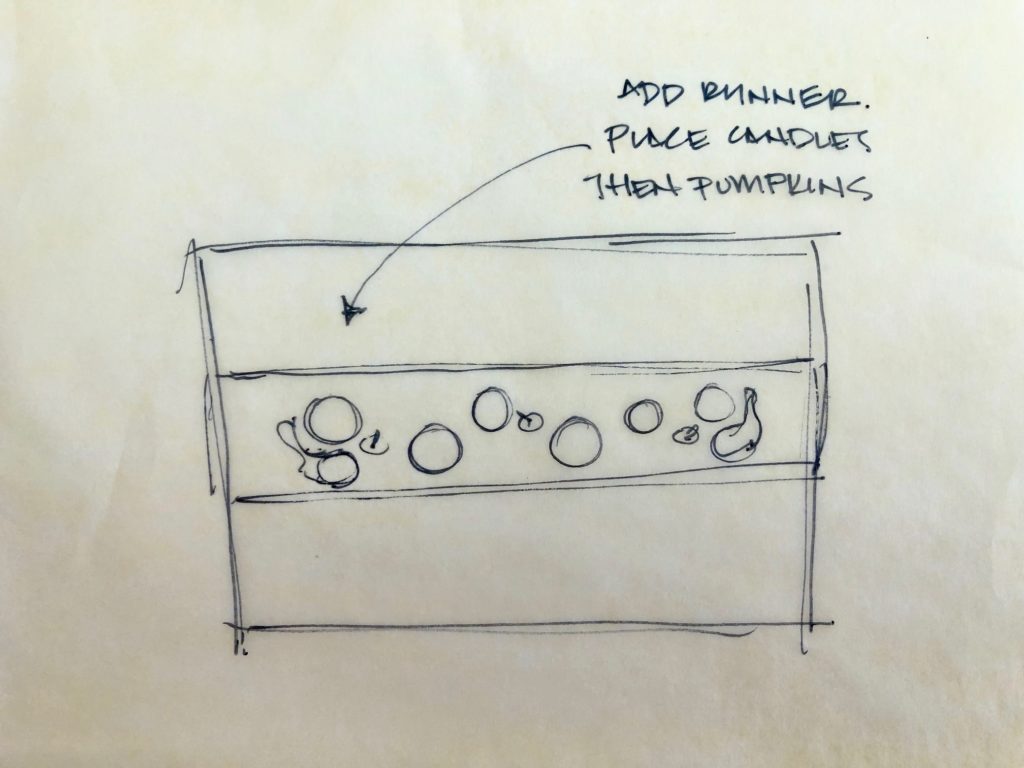
LAY RUNNER – You don’t have to use a runner, but it helps to keep everything neat and tidy down the center of the table and provides a foundation. With mine, the natural linen color lightens the otherwise dark tablescape.
PLACE CANDLES – Again, you don’t have to use candles. I bought these from the dollar spot at Target three years ago. They are black, glittery, and battery-operated. You can use regular candle holders with white, black, orange, or any! color candles, wide pillars, or none at all. I like the height it gives to the arrangement, and my kids like having the “spooky” candlelight. The bulbs flicker when lit.
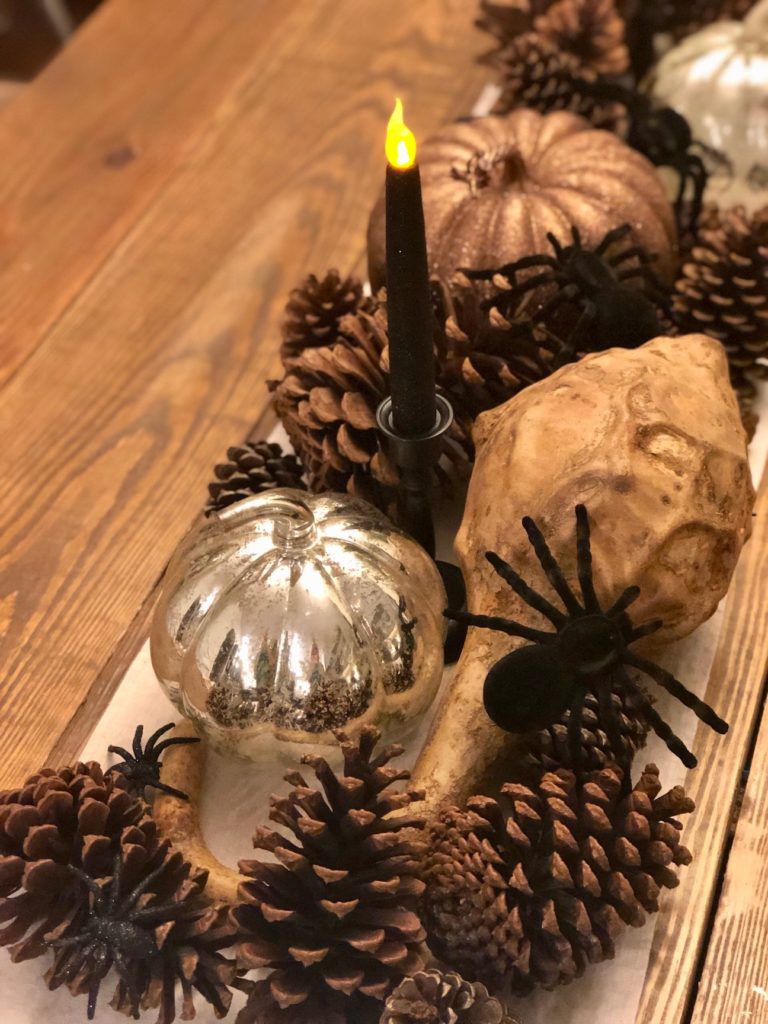
ADD PUMPKINS – When you add your pumpkins (and/or gourds!), there’s really no definitive way to do so. Just keep the objects balanced on a center line, varying sizes and styles evenly. I have three nice mercury glass ones I got from Pottery Barn years ago (similar here), two lightweight bronze glitter ones from Target or Hobby Lobby, I can’t remember. And then I have a pair of dried gourds Joseph picked out as a toddler when we went to a pumpkin patch.
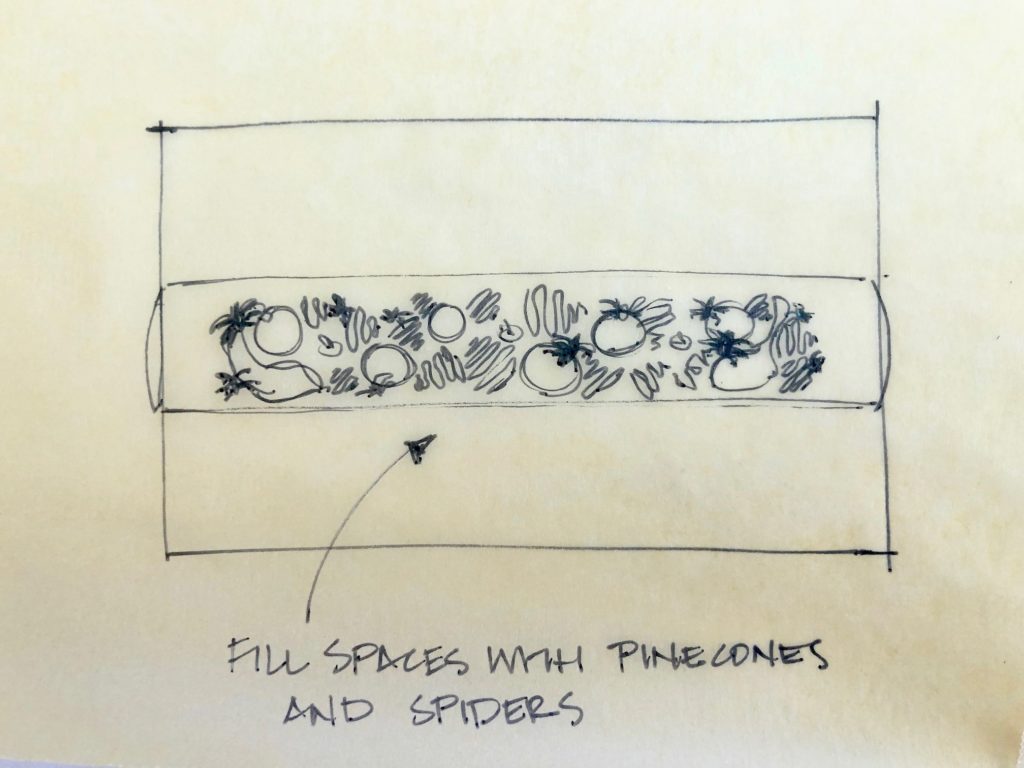
PILE UP PINECONES – Once you lay all those out, you can start adding your pinecones, small branches, leaves, etc.
Here’s the tricky part of putting the arrangement together: if you have battery-operated candles like mine, you have to be able to get to the bottom of them without causing all of your pinecones to topple. The same is true about the battery switch if you use string lights. I made this mistake the last two years and finally wised up. I piled the pinecones around the pumpkins so that all I had to do was lift the glass pumpkins out to turn on the candles. So much easier!
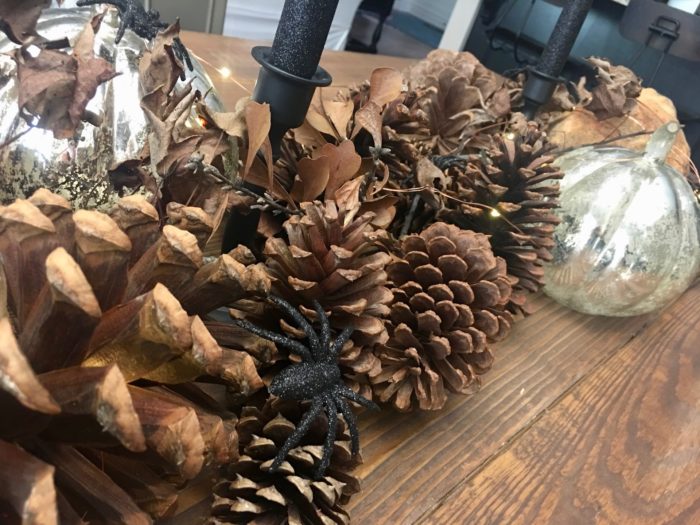
Finally, add your spiders. I have several big felt ones and a bunch of small glittery ones, all from the Dollar Tree. They are fun and make the whole display Halloween-y.
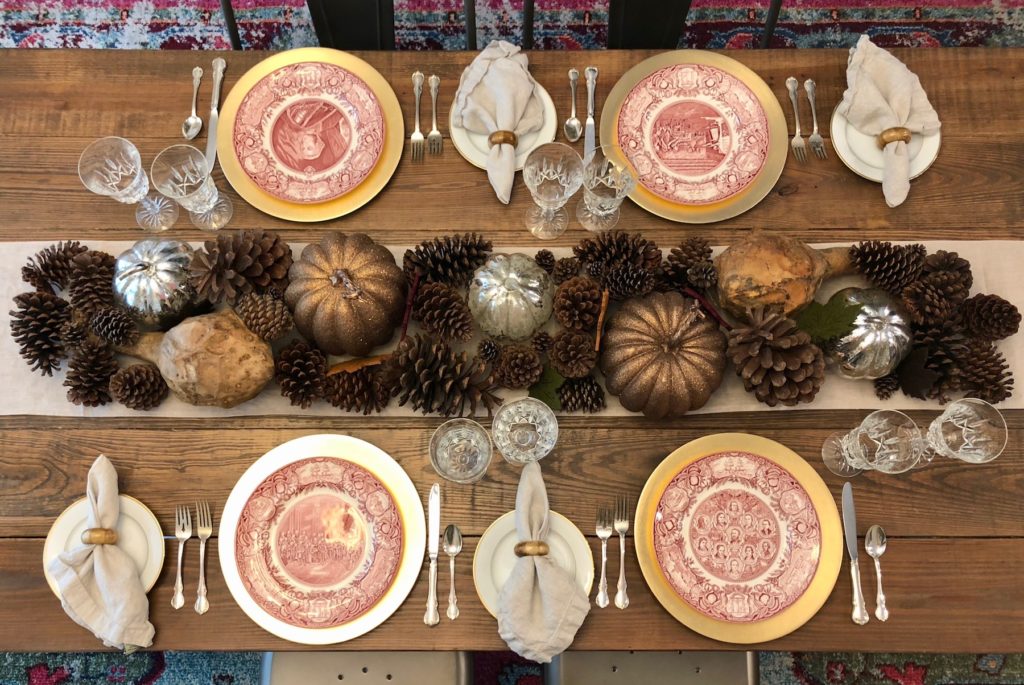
The thing I love about this tablescape is that it is easily converted to Thanksgiving! Last year, I took the spiders and black candlesticks away and added the glittery bronze pumpkins and a table runner…
Have you decorated yet? Is it in the nineties where you are like it is here? Do you do the same thing every year or do you switch it up? Do you lean towards Halloween or fall, or mix-match like me?
If you haven’t yet decorated for fall, I encourage you to gather your things together and see how can you can create a festive tablescape, using what you already have (including in your yard!). Involve your kids; Hannah helped me.
Have fun!
Leave a Reply